Fingerprint Guestbooks are a unique, beautiful, and memorable enhancement to nearly any wedding. We had one at our own wedding, and it was a total hit. Our guests enjoyed making it, and we love seeing it hanging on the wall as a pretty piece of art that reminds us of our wedding day. However, we also remember being the typical stressed-out pre-wedding couple, already making more choices for our wedding than we realized was even possible.
Having to figure out the logistics of the guestbook on the fly can be just one more challenge to tackle. But fear not, soon-to-be-newlyweds (and other fingerprint guestbook novices)! We’ve compiled what we have learned through our experience just for you. Don’t worry, it’s easy!
Ordering A Fingerprint Guestbook
If you already have a fingerprint guestbook, feel free to skip this step!
Where to look. If you’re in the market for a fingerprint guestbook, there are a lot of options out there. We happen to sell them, via print-on-demand service Zazzle, and we think they are a pretty good deal starting at $20 USD. You can customize to your heart’s content, they operate world-wide, and the shipping is fast! However, if you are in a time crunch or you just want to do something DIY, consider a print-your-own template. Just remember to take a look at our paper suggestions, and consider calling your local print shop to see if they can help. And of course, there are many different fingerprint guestbooks for sale across the Internet.
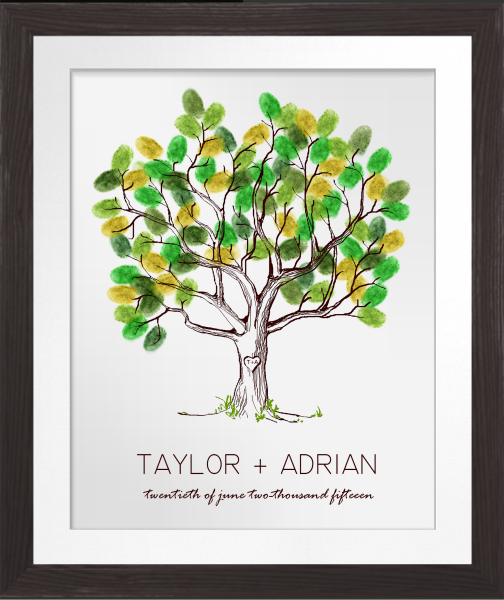
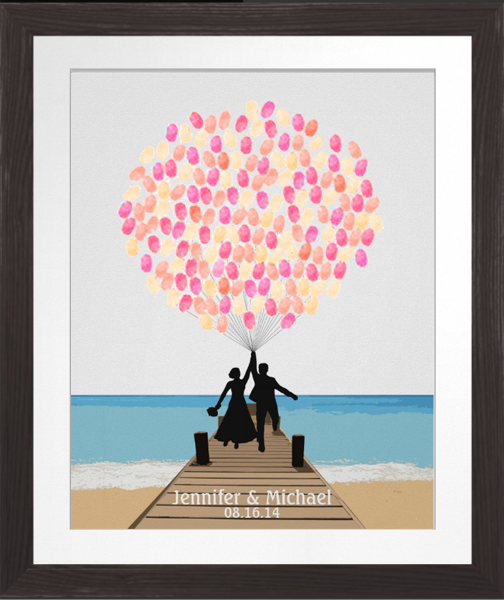
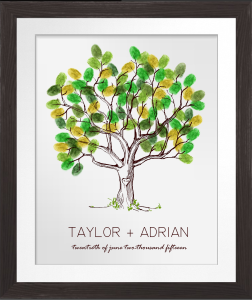
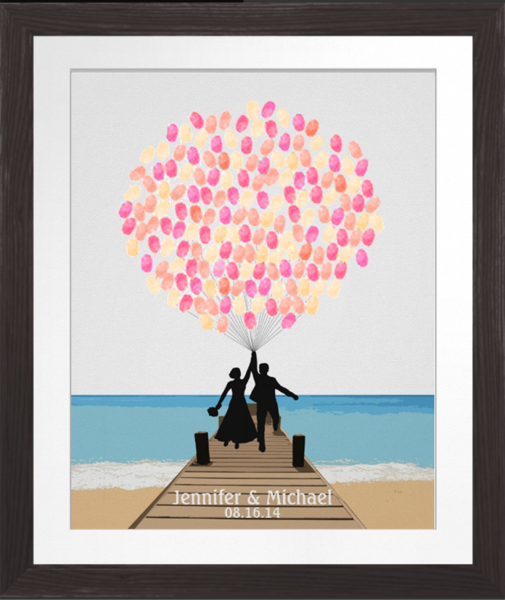
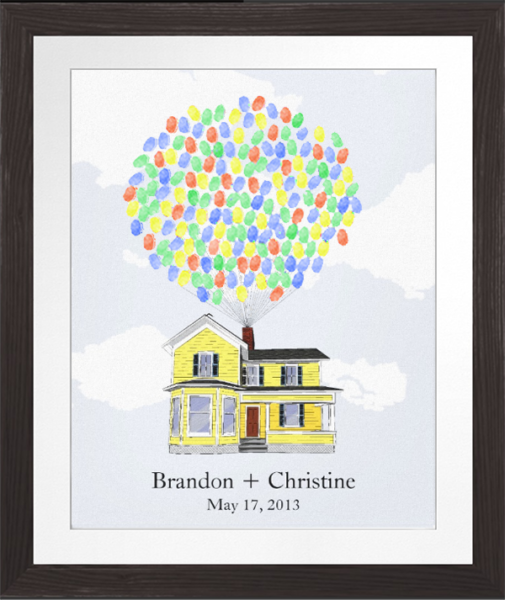
Guestbook designs. There are many different possible designs for the guestbook, but the classic image depicts a tree. If you’re not sure what design you want, we would recommend the tree, as it is versatile enough to be used for almost any event. However, there are lots of other fun options, like a couple holding hands or doing activities together, or a house pulled upwards by fingerprint balloons. The balloons permit a more colorful palette, and we love the sense of adventure. Also, please keep in mind that if you aren’t throwing a wedding or bridal shower, there may be more specialized options for your event. Baby shower guestbooks are becoming quite popular!
Just to keep things simple, this guide refers to “trees” and “leaves,” but the concepts apply to any kind of fingerprint guestbook.
Fingerprint Guestbook Sizing
The size of the guestbook should be proportional to the number of guests attending the event. There is some flexibility here, but in general you want to ensure a nice, even spread of prints across the branches. It’s hard to generalize for all designs, but here’s what we recommend for our own guestbooks:
- 12×16: Small, <50 guests
- 16×20: Medium, 50-100 guests
- 18×24: Large, 100-150 guests
- 24×36: Very large, 150+ guests*
If you’re ordering a guestbook from elsewhere or printing it out yourself, those numbers may not be perfect, but hopefully it gives you a starting place. If your guestbook design is not a tree, be aware that balloon prints will naturally be placed a little more closely than tree leaves.
* For large weddings and events, consider a second tree rather than a single huge one – having a second guestbook may make the thumbprint process a little faster for your guests, and it gives you more options for hanging.
Paper & Canvas Information
Fingerprint trees can be printed on almost anything! But we generally recommend using some type of archival paper, which will hold the colors and fine details better over time. We also suggest a matte finish as your guests will be less likely to smear ink. If you have good quality, archival paper, you should not need to use any kind of “fixer” spray after completion.
There are lots of other options out there for the adventurous, and your choices will depend on where you’re ordering your guestbook. We can only speak for our guestbooks, but paper options include value and archival matte paper, wrapped canvas, and wood. The wrapped canvas and wood both look amazing. We suggest exploring all your paper options with your guestbook vendor or local art shop.
Some Other Stuff You Might Need
Ink Pads & Colors
There are two types of ink you can use for for the leaves / balloons of your guestbook: dyed or pigmented. Dye-based ink dries quickly, making it well-suited for any type of paper with a glossy finish, but it tends to stain fingers. Pigmented ink keeps fingers a little cleaner, but it won’t work as well unless it’s used on a matte surface. Whichever type you select, make sure you get an archival quality inkpad, which is important for preserving your guestbook and protecting it from fading.
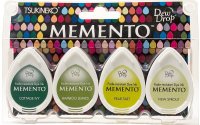
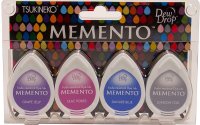
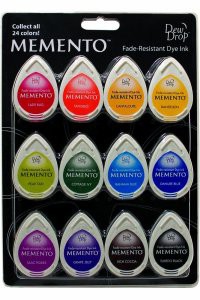
If you aren’t sure what type of ink to use, we recommend using a dye-based ink. The Tsukineko Memento ink pads work great on paper with any type of glossy finish (such as Zazzle’s matte value poster paper, which is semi-glossy), because the ink is very fast drying and less prone to smearing. If you have a matte surface and would prefer to use a pigmented ink, we recommend the ColorBox Pigment line. (Miraclekoo Pigment pads are an interesting and inexpensive alternative to ColorBox, but we haven’t tested them ourselves.)
As for what color ink pads to buy, one of the fun things about fingerprint guestbooks is that you can match it to the season, the location, or even your favorite kind of tree! Feel free to use whatever suits your fancy, but if you’re looking for a suggestion, we have some recommendations.
Ink For Fingerprint Tree Guestbooks
Spring/Summer: Use ink with lots of greens and yellows for those lush spring and summer months.
Pigmented alternative: ColorBox Serenity.
Fall: When the leaves are starting to turn, use inks with yellow and orange for the perfect fall feel.
Pigmented alternative: ColorBox Provence
Winter: Try using silver and blue inks to evoke the snow and frost of wintertime.
Pigmented alternative: ColorBox Metalextra Brocade
Ink For Fingerprint Balloon Guestbooks
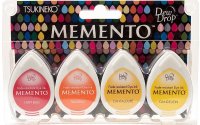
If you’re using a fingerprint balloon-type guestbook rather than a tree, we recommend using lots of bright colors with lots of variety. Either the “Prime Time” 4-pack or the “Sorbet Scoops” or “Gum Drops” 12-packs should look great!
Pigmented alternative: ColorBox Pinwheel
Ink For Fingerprint Baby Shower Guestbooks
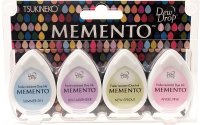
For baby shower fingerprint guestbooks, we think the “Oh Baby” 4-pack would be perfect (go figure).
Pigmented alternative: ColorBox Easter
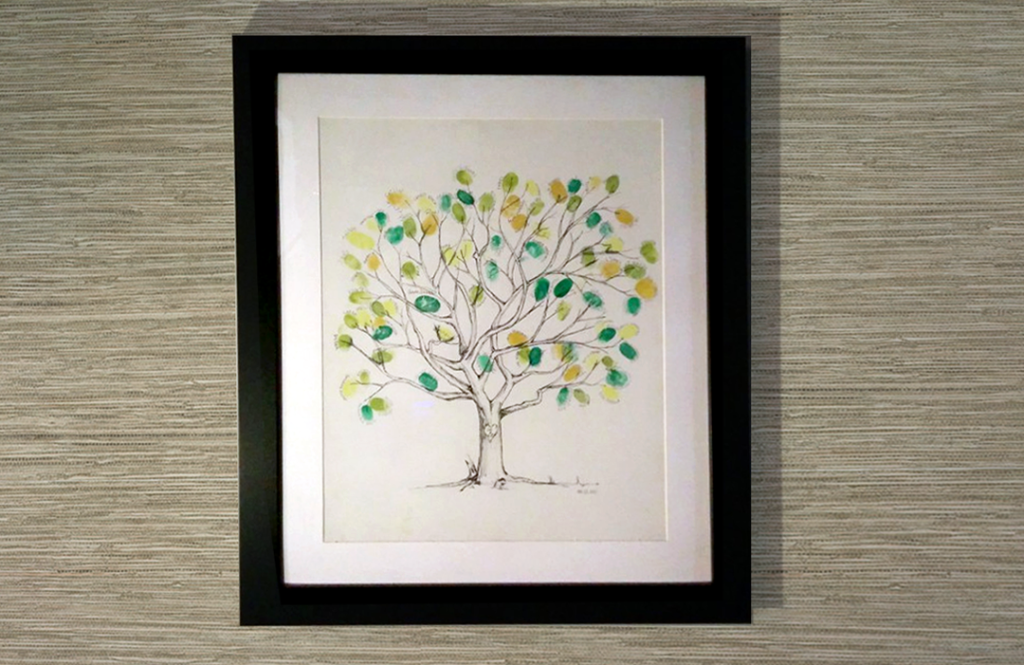
For our own August wedding, we used ColorBox ink pads, since our guestbook was hand-drawn on matte paper. We had two shades of green, one orange, and one gold ink pad (essentially the “Greenhouse”), and we think it turned out great (although we might be biased!). Our actual tree, out of its frame, is pictured below. Click to embiggen.
As you can see, you will end up with a lot of color variety even with relatively similar ink colors. The way your guests apply the ink – how hard they press, etc. – lends subtle variation to the “leaves.”
Pens & Wet Wipes
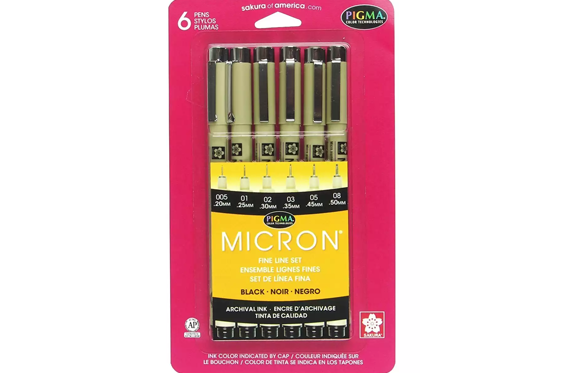
Traditionally, guests write their name somewhere next to their fingerprint. We recommend having guests use a quick-drying gel pen – something like a Sakura Pigma Micron should work very well. We actually just used a fine-tipped Sharpie for our guestbook which worked too!
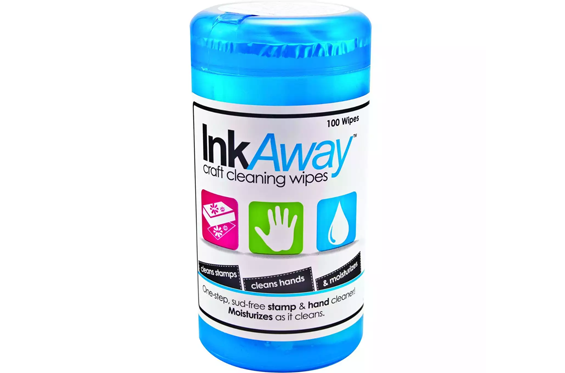
Also, please be aware that the ink may stain your guests’ fingers! Therefore, we recommend keeping some baby wipes or wet wipes in a basket nearby for guests to clean off their fingers when they’re done. (Along with another basket or trash can for the discarded wipes). If you would like to order these online, Amazon sells “Ink Away” wipes as an add-on item as of this writing.
Instruction Card
Actually placing your finger down is simple, but it’s easy to make mistakes (especially after cocktail hour!). Don’t leave it up to Uncle Jerry’s best guess – we recommend you give your guests some instructions so they know where to put the fingerprints and what to write.
You can easily make your own card, or we sell an inexpensive instruction card (about $3.50) which matches our fingerprint guestbook tree.
During & After The Big Day
Where To Put Your Fingerprint Guestbook
In our experience, you will want to put your fingerprint guestbook somewhere very accessible. The guestbooks tend to create a signing line, especially if everyone tries to sign at once, so it’s a good idea to put your guestbook where people can “sign” it throughout the wedding or event, rather than all at once.
In other words, make sure your guests can see and get to the guestbook at any time, but try not to create a bottleneck by putting it right by the entrance or in a small space. We put our signing area close to our wide-open dance area, and it worked out really well.
Also, we mentioned these points above, but just to reiterate:
- Don’t forget your ink pads and pens.
- Keep wet wipes and a disposal bin handy near the signing area.
- Provide some kind of instruction card for your guests.
Framing Your Fingerprint Guestbook
Now that the wedding’s over and the ink is dry, get your guestbook framed – you don’t want someone spilling coffee on it! There’s no right or wrong answer as to what kind of frame to use, and it depends on the colors on the tree and your own sense of style.
Your local art store or frame store should be able to help, or if you buy through Zazzle, you can add on a frame that is sized to the print. If you’re unsure, go with a black frame with a medium white matte. We had a local store add a thick black wooden frame with a white matte to our own guestbook, and it works really well (even if we’re still biased).
We hope that helped. Best of luck, and we hope your wedding or event is wonderful! If you have any other questions, or any other tips or tricks we should add, please feel free to leave a comment or contact us. We love getting feedback, and we really appreciate everyone’s help in making this page as useful as possible. Thanks to everyone that has contacted us already!
Disclosure: The Amazon links on this page are affiliate links. We earn a small commission on each referred sale, which helps to pay for hosting for this site.






Joyce Johnston
March 22, 2017 at 11:44 amThank you so much!
This was very informative!